
I am not vegan or even vegetarian. I am however, curious! When Andy and I lived in Columbia Heights, DC (we recently moved neighborhoods) there was a vegan restaurant/coffee shop called Sticky Fingers. I loved the name and every time we walked by, the place was packed out. Something good was happening there. Finally one day we stopped in for breakfast. I ordered the tofu scrambler, and a blueberry muffin. I was curious about the tastes since there would be no eggs, butter, milk, or cream in anything.

When my food came I was immediately surprised. It looked normal and delicious! When I dug in the taste was fantastic. The tofu scrambler tasted like tofu, obviously, but it also tasted like scrambled eggs with curry. Yum! There were no eggs though.

The blueberry muffin that I had ordered was surprisingly delicious as well. The outside was crispy and the inside was moist. So I became a vegan believer. I still love my meat and animal products, but now I know that it is possible to cook without eggs, milk, butter, and cream. This could just make my baking a LOT healthier!

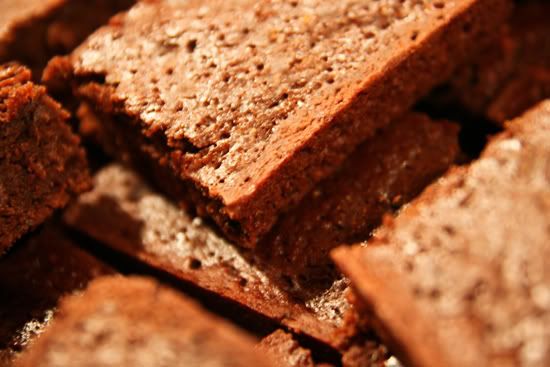
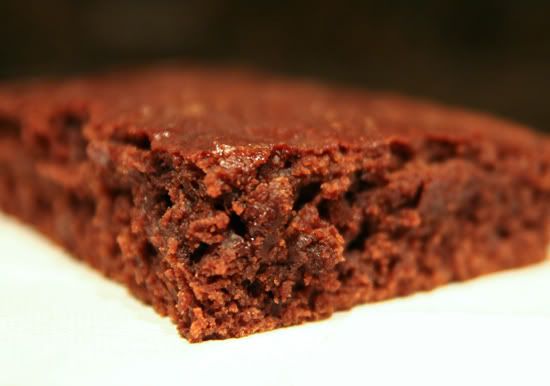
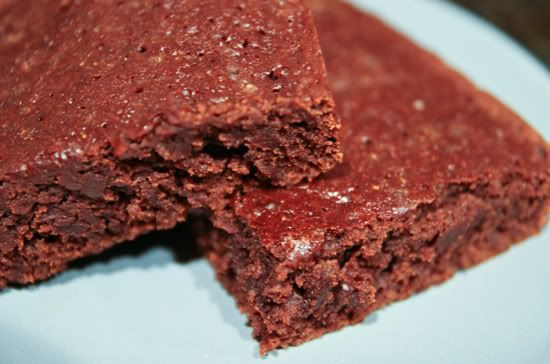
So only now have I finally gotten around to trying my first vegan recipe. I wanted to make brownies to I figured I would veganize them for the healthier aspect, along with curiosity as to how they would taste. I looked up quite a few recipes and ended up creating my own with pieces and ideas from other recipes...yes, ballsy move for my first attempt at vegan cooking! I am SO happy with how they turned out though! I couldn't be more impressed with myself! Enjoy!
Ellie's Vegan Brownies:Heat oven to 350 degrees.Spray 9x13 pan.Mix dry ingredients, then add wet ingredients.- -2 cups flour
- -2 cups regular, or cane sugar
- -3/4 cups cocoa powder
- -1 teaspoon baking powder
- -1 teaspoon salt
- -3/4 cup coffee or espresso
- -1/4 cup water
- -3/4 cup applesauce
- -1/3 cup vegetable oil
- -1 teaspoon vanilla extract
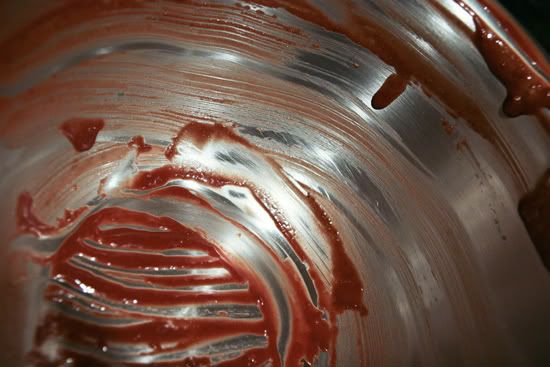
Mix well and pour into greased pan.
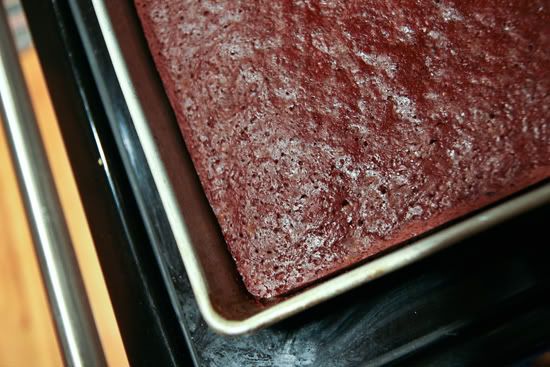
Bake for 30-35 minutes. (I baked them a tad bit longer after poking at them with a toothpick)

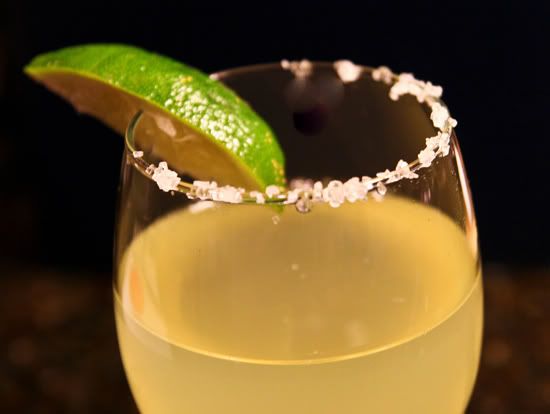
 I love tequila, it is my go-to liquor. Most people have had a bad experience with a particular liquor...mine was Jack Daniels Whiskey. Not tequila though. Tequila is always a good time, it is smooth, relaxing, and fun! When paired with lime is can only get better. (I love lime, just look at my blog name!) I used to only drink margaritas in the summer, but recently I wanted to spice up a cold evening, so what better idea than a homemade margarita.
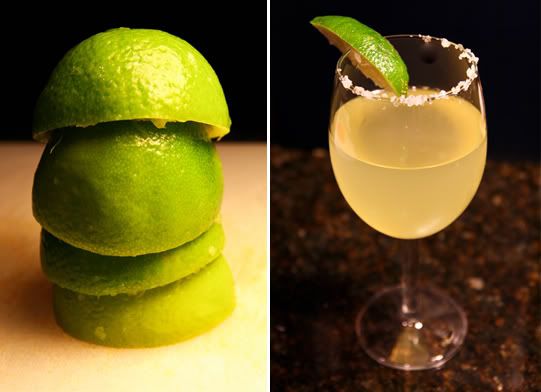


