Pages

Showing posts with label what's cooking. Show all posts

Feb 10, 2012

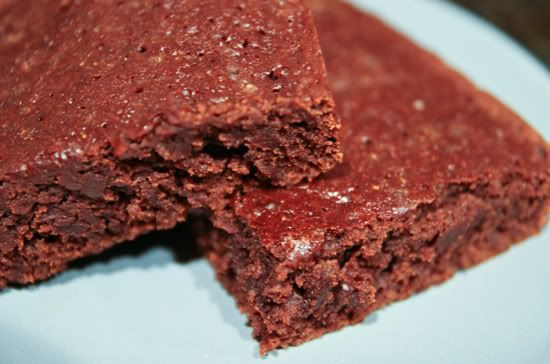
What's Cooking?...Vegan Brownies

I am not vegan or even vegetarian. I am however, curious! When Andy and I lived in Columbia Heights, DC (we recently moved neighborhoods) there was a vegan restaurant/coffee shop called Sticky Fingers. I loved the name and every time we walked by, the place was packed out. Something good was happening there. Finally one day we stopped in for breakfast. I ordered the tofu scrambler, and a blueberry muffin. I was curious about the tastes since there would be no eggs, butter, milk, or cream in anything.
When my food came I was immediately surprised. It looked normal and delicious! When I dug in the taste was fantastic. The tofu scrambler tasted like tofu, obviously, but it also tasted like scrambled eggs with curry. Yum! There were no eggs though.

The blueberry muffin that I had ordered was surprisingly delicious as well. The outside was crispy and the inside was moist. So I became a vegan believer. I still love my meat and animal products, but now I know that it is possible to cook without eggs, milk, butter, and cream. This could just make my baking a LOT healthier!
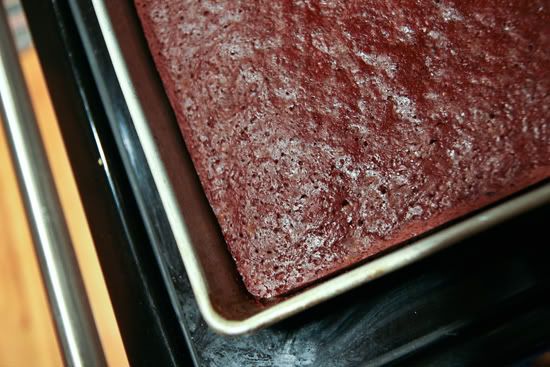
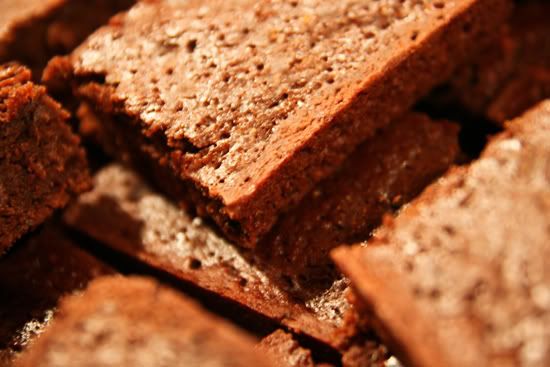
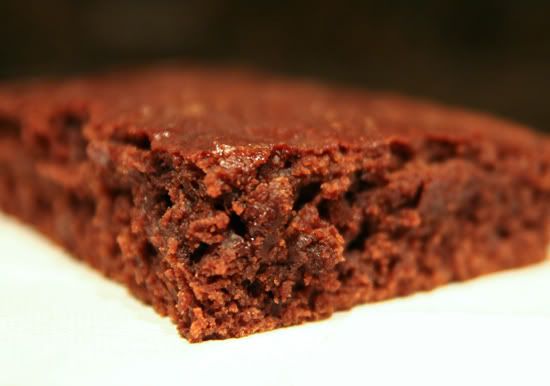
So only now have I finally gotten around to trying my first vegan recipe. I wanted to make brownies to I figured I would veganize them for the healthier aspect, along with curiosity as to how they would taste. I looked up quite a few recipes and ended up creating my own with pieces and ideas from other recipes...yes, ballsy move for my first attempt at vegan cooking! I am SO happy with how they turned out though! I couldn't be more impressed with myself! Enjoy!

Ellie's Vegan Brownies:

Heat oven to 350 degrees.
Spray 9x13 pan.
Mix dry ingredients, then add wet ingredients.

  • -2 cups flour
  • -2 cups regular, or cane sugar
  • -3/4 cups cocoa powder
  • -1 teaspoon baking powder
  • -1 teaspoon salt
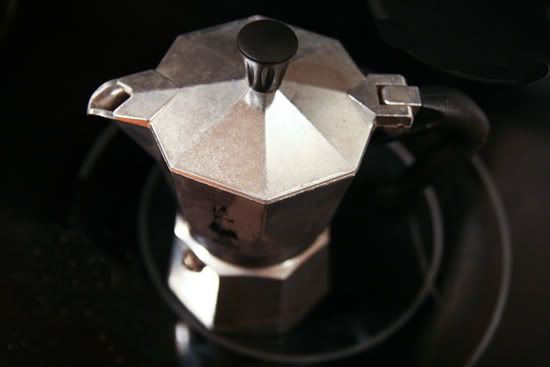
  • -3/4 cup coffee or espresso
  • -1/4 cup water
  • -3/4 cup applesauce
  • -1/3 cup vegetable oil
  • -1 teaspoon vanilla extract

Mix well and pour into greased pan.
Bake for 30-35 minutes. (I baked them a tad bit longer after poking at them with a toothpick)


Feb 3, 2012

What's Cooking...Basil Flatbread Crackers

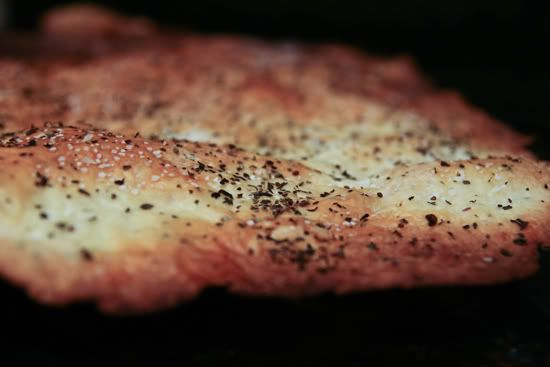
Last Friday I posted a similar picture to the one above. The recipe was Zesty Pineapple Salsa, but I paired it with this flatbread chip/cracker. I still don't know weather these would be called a chip or a cracker. The recipe calls it flatbread, but when you break it into pieces it is more of a chip/cracker.

This recipe is really easy and yield's the perfect amount of flatbread, for whatever purpose you may be using it. I used it with homemade salsa, but because my salsa was chunky it was a bit hard to use the flatbread to scoop it up. I ended up using a spoon to put the salsa onto the flatbread. Not everyone prefers that method though.

This flatbread is VERY flaky and could almost be used as a crust. I want to try it as the crust of a quiche. One of these days I'll get around to doing that and I'll be sure to post about it here. Until then, try out the recipe and let me know if you used it for anything special.

Basil Flatbread adapted from Martha Stewart

Ingredients

  • 2 cups all-purpose flour, plus more for surface
  • 1/4 cup coarsely chopped fresh basil, plus 40 whole basil leaves (leaves are optional)
  • Coarse salt
  • 1 teaspoon sugar
  • 3 tablespoons cold unsalted butter, cut into small pieces
  • 1 cup heavy cream
  • 1 large egg white, lightly beaten for egg wash

Directions

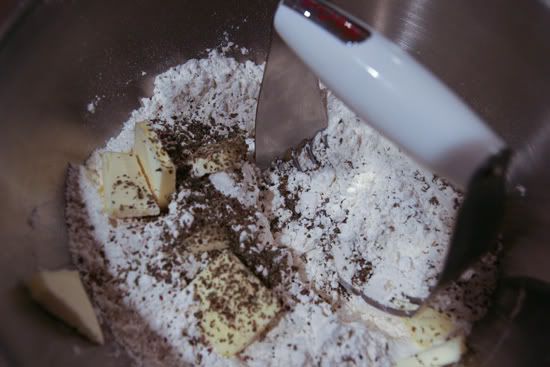
  • Preheat oven to 375 degrees. Mix flour, chopped basil, 1 1/2 teaspoons salt, and the sugar in until combined. Add butter; mix until mixture resembles coarse meal. Add cream and continue mixing until dough forms.
  • Briefly knead dough on a lightly floured surface. Divide dough into 4 equal pieces; shape into ovals, and wrap each in plastic wrap. Refrigerate until firm, about 30 minutes.
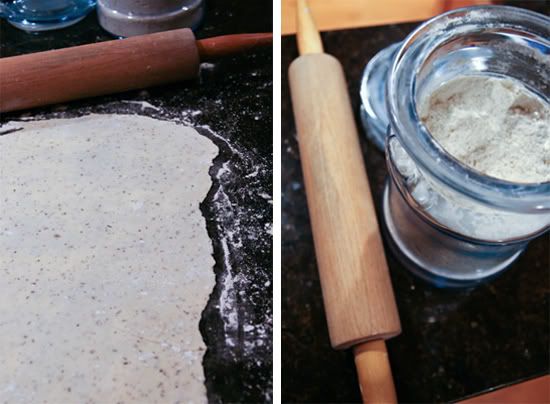
  • Roll out 1 piece of dough on a lightly floured surface into a very thin oval (about 12 by 16 inches). Transfer to a parchment-lined, or greased baking sheet. Brush with egg wash, and sprinkle with coarse sea salt and more dried basil. (Optional: press 10 whole basil leaves into top.)
  • Bake until golden brown and crisp, 15 to 20 minutes. (be sure to watch it because it will brown quickly and may burn.) Transfer to a wire rack, and let cool. Repeat 3 times with remaining dough, egg wash, salt, and whole basil leaves. Break into individual crackers using your hands.

Jan 27, 2012

What's Cooking?...Pineapple Salsa

This last weekend Andy and I got together with some friends to play a game of Settlers. (Don't judge!) I use to think that game was so nerdy and stupid, until I played it one day. Now I love it and get super excited to play!

I knew there would be junk food for people to much on, so I wanted to make something that was very snackable, yet healthy. Salsa was the first thing that came to mind. I have a huge sweet tooth though, so I wanted to zest it up a little with some pineapple and lime zest. This recipe was thrown together last minute, but I am quite pleased with it. I paired it with some homemade flatbread chip/crackers...recipe to follow next week.

Zesty Pineapple Salsa

  • 5 Roma Tomatoes (I like these because they seem firmer, you can use any kind of tomato though)
  • 1/2 of a large onion
  • 1 whole bunch of parsley
  • 1 can of pineapple
  • a good sprinkle of garlic salt
  • juice of 2 limes
  • zest of 1 lime
  • a splash of hot sauce, or more depending on how spicy you like things

Chop everything up pretty finely. Add the garlic salt, lime juice and zest, and hot sauce. Mix well and voila, there is your pineapple salsa!

Jan 20, 2012

What's cooking?...Chicken Coconut Lime Soup

Now that winter has finally hit DC, I have been on the search for good soup recipes. Luckily Pinterest just happens to be the perfect place to look.

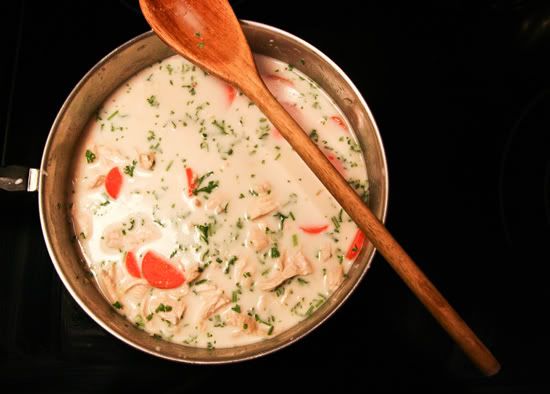
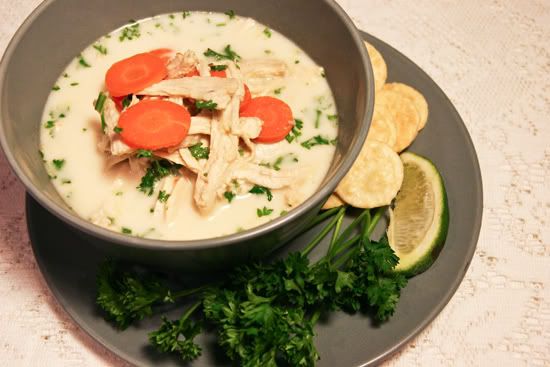
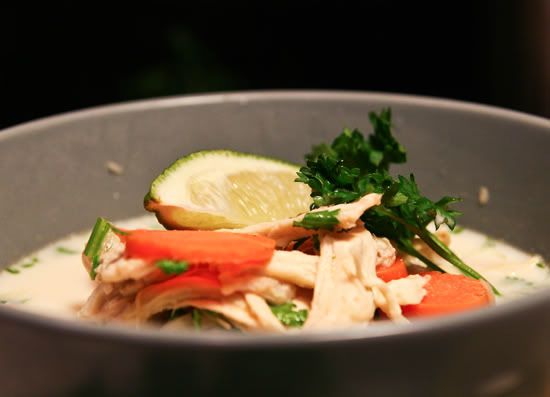
I found a recipe called Creamy Coconut Lime Soup and it sounded too good to be true. It also sounded unlike a soup and more like some kind of dessert. I was very curious about this one. Not only was it amazingly delicious, but it was so easy to make! Andy could not stop talking about how much he loved the soup. The other night he actually ate two bowls of it with about an hour in between. He claimed he was full, but it tasted so good he wanted more. I did find this soup quite filling, but I think that was because of all the chicken.

The recipe calls for buying a rotisserie chicken and using that, but I boiled 2 very large chicken breasts instead. That way it was a bit healthier. I boiled them in a covered pan of water, then let them simmer for about 30 minutes. After that, I put them in the refrigerator to cool down. Once they were cooled I used two forks to shred the chicken before adding it to the soup.

The original recipe didn't call for cilantro, but I added it to my recipe. I like the subtle added flavor, and of course the color. Without the cilantro it seemed too bland for my tastes, but you could definitely leave it out or substitute it for something else. I love to mix and match recipes.

Creamy Chicken Coconut Lime Soup

Ingredients

  • 1/2 purchased rotisserie chicken, shredded, or two boiled chicken breasts shredded
  • 2 cups water
  • 1 14 oz lite coconut milk
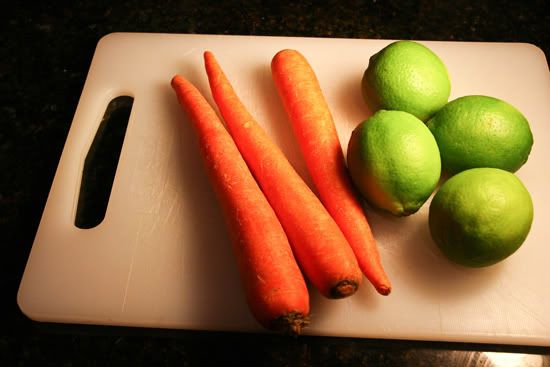
  • 1 1/2 cups thinly bias-sliced carrots (about 2-3 medium)
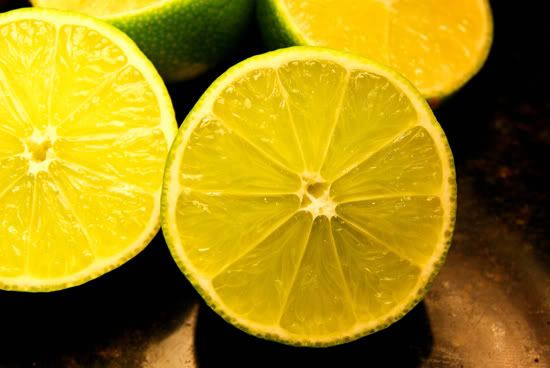
  • 1/4 cup freshly squeezed lime juice
  • 1 tablespoon soy sauce
  • 2 teaspoons Gourmet Garden Thai Herb & Spice Blend (If you can't find this, try Thai green curry paste. I used the paste and it worked great!)
  • 1/4 teaspoons salt
  • Cilantro (finely chopped)
  • Sliced Lime (optional)

Directions

  1. Remove and discard skin and bones from rotisserie chicken. Shred the meat using two forks, pull chicken apart. In a large saucepan combine shredded chicken, the water, cilantro, coconut milk, carrots, lime juice, soy sauce, Thai herb & spice blend, and salt. Bring to boiling, reduce heat. Simmer, covered, about 8-10 minutes or until carrots are crispy tender.
  2. Ladle soup into bowls. Serve with slice lime.
I found this recipe on Pinterest, on this blog.

Jan 6, 2012

What's cooking?...Doughnuts

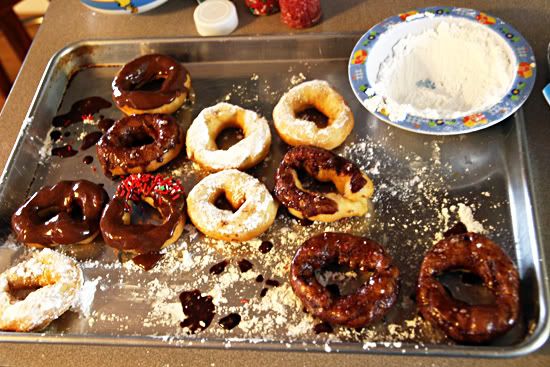
Easy 10 Minute Doughnuts!

Doughnuts have long been a Christmas tradition of my family. They go back as far as I can remember. My mom usually makes the 2-day kind with mashed potatoes in them and lets them rise for a whole day. They taste awesome, but few people have that kind of time. One Christmas my mom decided she was not going to make doughnuts, so my younger brother set out to find his own simple way of making doughnuts for the family...and he did just that! These literally take 10 minutes per biscuit container.

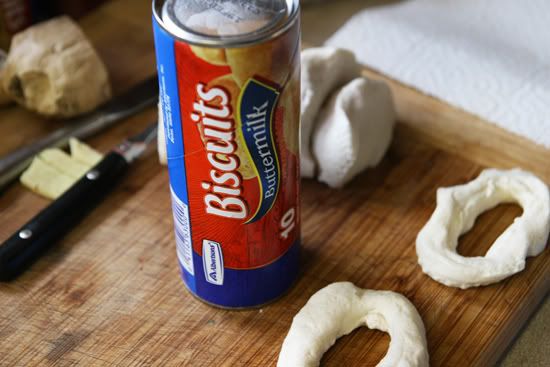
1.) Start with a can of biscuits. They can be any kind. If the can says 10 biscuits, it will make 10 doughnuts...simple!

2.) Use your thumb and forefinger to make a hole in the biscuit and stretch it apart so that it resembles a doughnut.


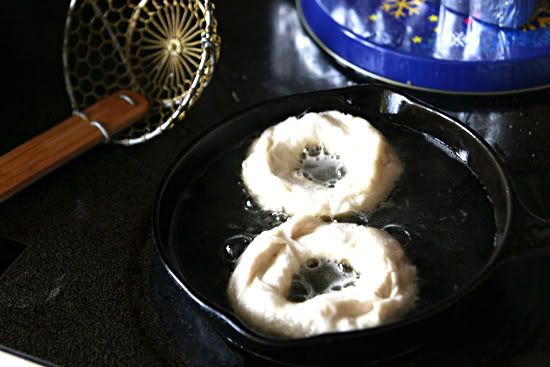
3.) Fry the doughnuts in an inch or two of any kind of oil. I think we use canola or vegetable oil.


4.) When the doughnuts are browned on both sides take them out of the oil and let them drain on some paper towels.


5.) Decorate your doughnuts as you please. A simple glaze can be made of mixing powdered sugar with milk until you get the desired consistency you want. Cocoa powder can be added to that mixture, or any other flavoring that you like.

Biscuit Doughnuts are a fun easy thing to do with kids! My brothers and I always loved decorating doughnuts as we were growing up, and now we let our little cousins take over the decorating.

Dec 28, 2011

What's cooking?

I have always been scared of pie crust. I was into using store bought crusts, until one day I was randomly disgusted by them. My mom taught be how to cook, so I should put that to use! Over the last year I have been on a search for a perfect pie crust recipe that I could file away for future use. Now that I have found it I'd like to share it. :)

I found this recipe at Simply Recipes and I have adapted the techniques used from a variety of different places.

Perfect Crust for Sweet and Savory Pies
  • 2 1/2 cups all-purpose flour, plus extra for rolling
  • 1 cup (2 sticks or 8 ounces) unsalted butter, very-cold, cut into 1/2 inch cubes
  • 1 teaspoon salt
  • 1 teaspoon sugar
  • 6 to 8 Tbsp ice water
1.) Combine flour, salt & sugar on a flat surface. 2.) Add cubes of butter. Use a pastry scraper or other flat device to cut the butter into the four mixture.

3.) Continue cutting butter into flour with pastry scraper. Slowly add water 1 Teaspoon at a time to help the dough clump together. 4.) Once dough is mostly clumped together form into a round disk.

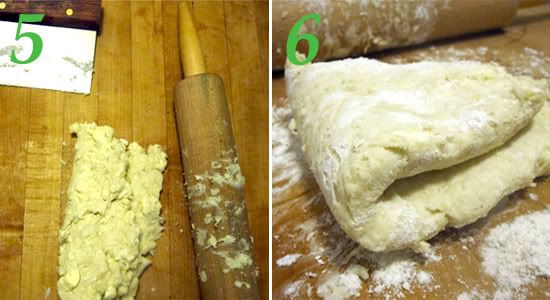
5.) Begin to roll the clumpy dough adding flour to keep it from sticking. 6.) Fold the dough over a few times and continue to roll.

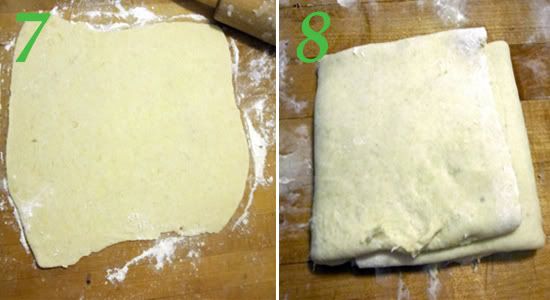
7.) Roll the dough very flat, using flour to keep it from sticking. 8.) Fold the dough up into a square.

9.) Wrap dough in plastic and place in refrigerator for 1 hour. Dough can be used after 1 hour or frozen for future use. (I love to freeze a couple of these for when the spontaneous need to bake arises.) When you want to use the dough, simply take it out, let it sit at room temperature for about 15 minutes and then roll it out to the size needed.

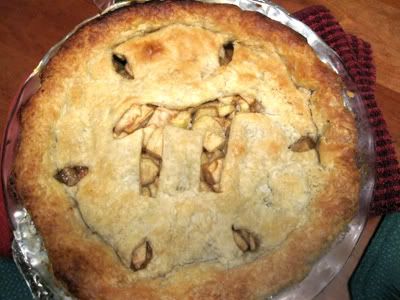
10.) Pie (or pi) is complete with flaky crunchy crust. It's perfect, I told you!

Dec 23, 2011

What's cooking?...Christmas Cookies

Making roll-out Christmas cookies is an all time favorite activity of mine. I have been a huge fan of making them since I was a little girl. There is something about all the flour, the sprinkles, the finger-licking good icing, and the whole artistic aspect of it. Then at the end of the day you get to eat them, what could be better!

I found this recipe on the Peppermint Plum blog. She calls them 'thick soft sugar cookies', and that is exactly what they are.


Perfect Christmas Cookies
1 cup butter
2 cups sugar
2 eggs
3 tsp. vanilla
1 cup sour cream
1 tsp. salt
2 tsp. baking soda
5 1/2 cups flour

In mixer (or bowl), cream butter and sugar, and then add eggs and vanilla. Add sour cream. Combine salt, soda, and flour, and add to mixture.
Roll out on floured surface to about 1/4 to 1/3 inch thick.
Use a spatula to carefully slide under each cookie and place onto greased cookie sheets.
Bake at 375 for 7-8 minutes.
THEY WILL NOT LOOK DONE, but take them out anyway.


Buttercream frosting:
1/2 cup butter, softened
4 cups powdered sugar
2 tsp vanilla extract
1/4-1/3 cup milk
In a mixing bowl, cream butter. Beat in sugar and vanilla until crumbly. Gradually add milk until frosting reaches desired consistency. Add desired food coloring.


ENJOY!


Dec 16, 2011

What's cooking?


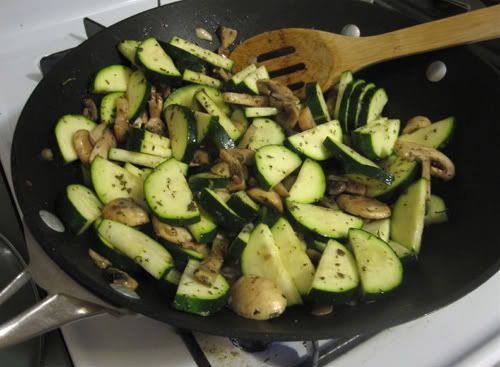
Andy and I have been in huge vegetable moods these days! I would say we are about 90% vegetarian. Not that we try to be, it just happens that way. So this weekend we were driving around Maryland and we came across a Korean market. We've been to a few before and they have awesome produce for great prices. So we bought a shopping cart FULL of vegetables! Yes, we're just a little out of our minds. So I am pretty excited now to cook up some simple yet tasty veggie dishes.

This is a favorite that I like to whip up because it is so simple. We can actually make this a meal, and no we are not birds, we like to pile it high on our plates with maybe a piece of whole grain toast. Mmmm!

Stir-fried Zucchini & Mushrooms
-2 large zucchini
-1 package mushrooms
-3 tablespoons olive oil
-salt & pepper to taste
-about 1 teaspoon dill
-about 1 teaspoon dried basil

Slice everything and place it in a wok with the olive oil. Once things get to simmering add the salt, pepper, dill and basil. Cook until everything is tender. And of course the seasonings can be adjusted to taste. Enjoy!
Related Posts Plugin for WordPress, Blogger...