
My brother has been living in Montana for the last 7 years and I am only now finally getting to visit him. He originally moved out there because of my aunt and uncle. Now they have three adorable children-my cousins, who I rarely get to see. So it was time Andy and I made our way out to Montana for the holidays...and what an awesome time we had!
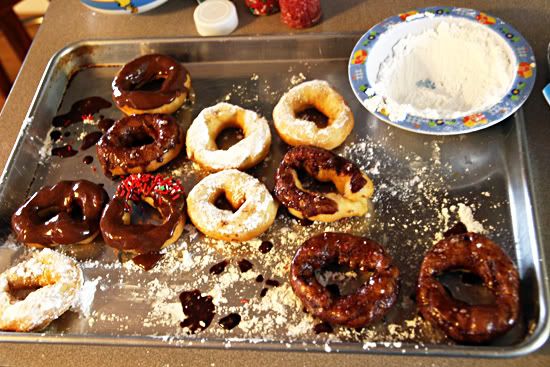
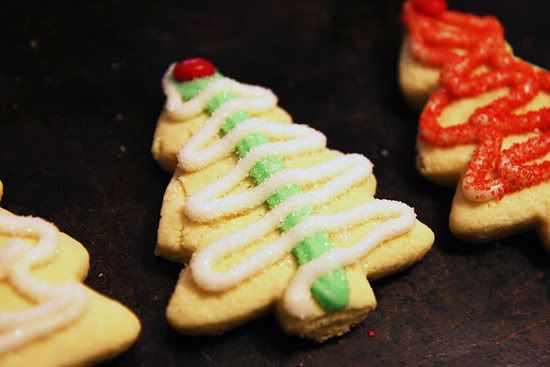 Christmas cookies. It's not Christmas without them.
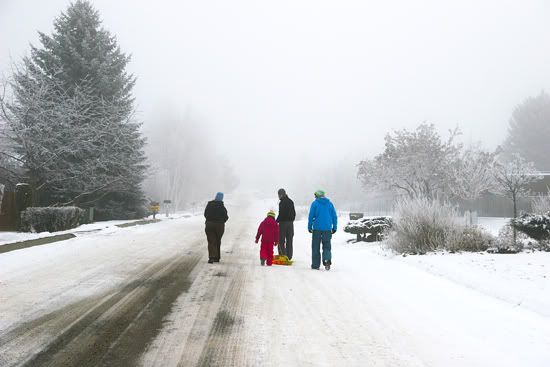 Going sledding with my cousins Christmas morning. They got sleds for Christmas!
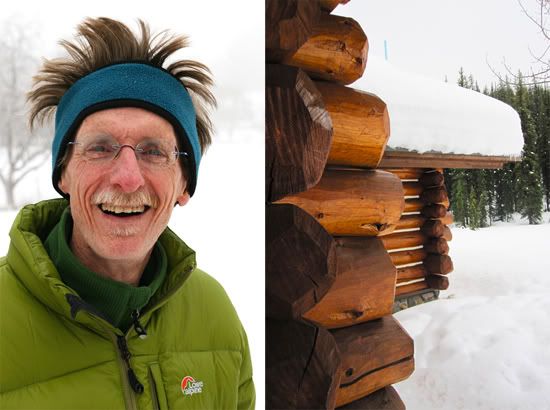 My Dad and his crazy hair! The cabin lodge where we went cross-country skiing.
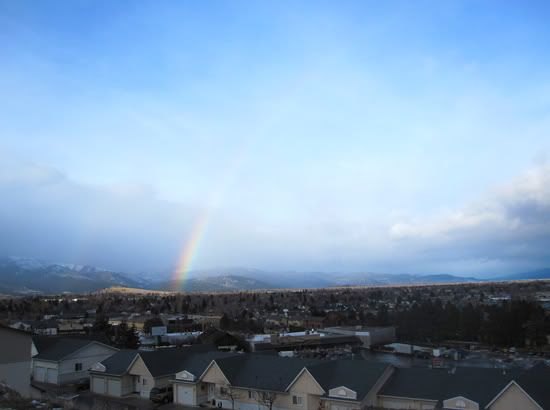 A beautiful rainbow viewed from my aunt & uncle's house one morning.
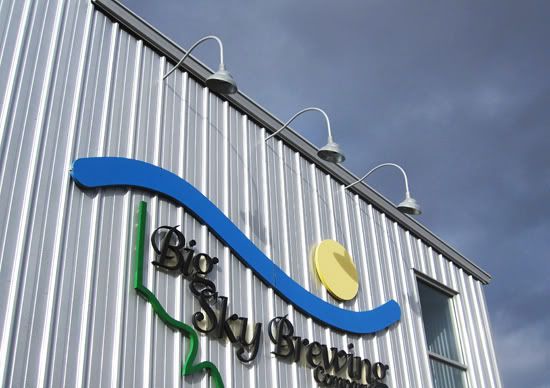 Big Sky Brewing Company. Just one of many breweries we enjoyed.
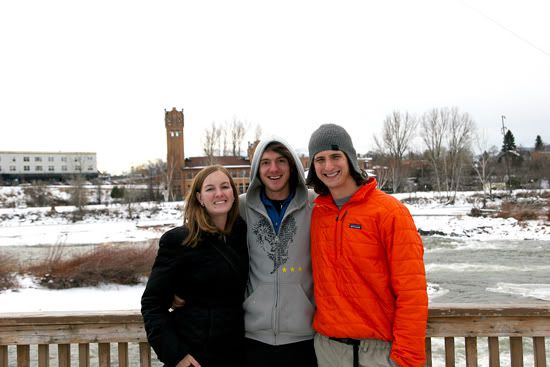 Myself, my brother, and Andy hanging out in downtown Missoula.


